
Have you ever wanted to make a rich, bakery-style dessert without turning on the oven or spending hours in the kitchen? Many people think amazing desserts must be baked, complicated, or time-consuming. But what if a few simple ingredients and a little mixing could give you something creamy, sweet, and truly special? That’s exactly what these No-Bake Biscoff Truffles do, and once you try them, you may never look at no-bake desserts the same way again.
Why You’ll Love This Recipe
Print
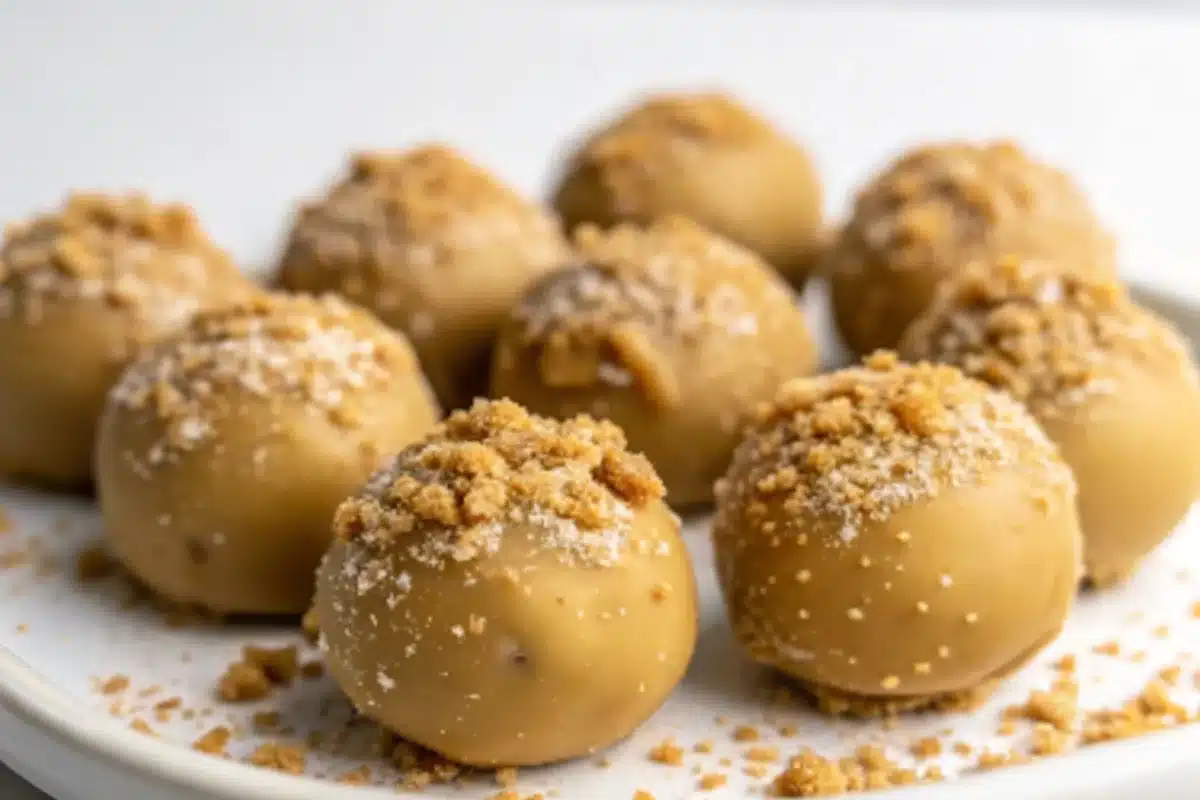
No-Bake Biscoff Truffles – Creamy Cookie Butter Dessert Balls
- Total Time: 1 hour (including chill time)
- Yield: 20–24 truffles 1x
- Diet: Vegetarian
Description
These No-Bake Biscoff Truffles are the ultimate sweet treat! Made with creamy cookie butter, crushed Biscoff cookies, and dipped in smooth melted chocolate, these bite-sized dessert balls are rich, indulgent, and incredibly easy to make — no oven needed!
Ingredients
- 1 package Biscoff cookies, crushed into fine crumbs
- 1/2 cup Biscoff cookie butter spread
- 4 oz cream cheese, softened
- 8 oz white or milk chocolate, melted for coating
- Optional toppings: crushed cookies, drizzled chocolate, sprinkles
Instructions
- Crush the cookies: Use a food processor or sealed bag and rolling pin to turn the Biscoff cookies into fine crumbs.
- Make the base: In a bowl, combine the softened cream cheese and cookie butter. Mix until smooth and creamy.
- Combine: Add the cookie crumbs and mix until a soft, rollable dough forms. Chill for 10 minutes if too soft.
- Shape: Scoop and roll dough into small, even balls. Use a cookie scoop for best results.
- Chill: Place balls on a tray and refrigerate for 30 minutes to firm up.
- Coat: Dip each chilled truffle into melted chocolate. Place on parchment to set. Top with crushed cookies or a chocolate drizzle if desired.
Notes
Store in the fridge for up to 1 week or freeze for up to 2 months. These truffles are great for parties, gifts, or satisfying a quick dessert craving. Try different chocolate coatings or toppings to customize them!
- Prep Time: 20 minutes
- Cook Time: 0 minutes
- Category: Dessert
- Method: No-Bake
- Cuisine: American
Nutrition
- Serving Size: 1 truffle
- Calories: 120
- Sugar: 10g
- Sodium: 60mg
- Fat: 7g
- Saturated Fat: 3.5g
- Unsaturated Fat: 3g
- Trans Fat: 0g
- Carbohydrates: 13g
- Fiber: 0.5g
- Protein: 1g
- Cholesterol: 5mg
These Biscoff Truffles are soft, creamy dessert balls made with cookie butter and crushed cookies, then coated in smooth melted chocolate. They taste rich and indulgent, yet they are surprisingly easy to make.
What makes this recipe special
- No oven needed
- Simple pantry ingredients
- Smooth, creamy texture
- Perfect for parties, holidays, or gifting
Time required
- Prep time: about 20 minutes
- Chill time: 30 to 40 minutes
- Total time: about 1 hour
Difficulty level
- Very easy
- Beginner-friendly and kid-friendly
This is the kind of recipe you can make even on busy days, with great results every single time.
Essential Ingredients
You only need a few basic ingredients to make these truffles. Each one plays an important role in flavor and texture.
Main ingredients
- Biscoff cookies (crushed into fine crumbs)
- Biscoff cookie butter spread
- Cream cheese (softened)
- White or milk chocolate (for coating)
Optional toppings
- Crushed Biscoff cookies
- Drizzled chocolate
Substitutions and variations
- You can use dark chocolate instead of white chocolate for a less sweet coating.
- Dairy-free cream cheese works well if you need a dairy-free option.
- If you cannot find Biscoff cookies, you can use any spiced caramel-flavored cookies with similar texture.
Step-by-Step Instructions
Step 1: Prepare the cookie crumbs
Place the Biscoff cookies in a food processor and blend until you get fine crumbs. If you do not have a food processor, put the cookies in a sealed bag and crush them with a rolling pin.
Tip: Finer crumbs help the truffles hold together better.
Step 2: Mix the creamy base
In a large bowl, add the softened cream cheese and cookie butter spread. Mix until smooth and creamy. This is the base that gives the truffles their rich texture.
Tip: Make sure the cream cheese is fully softened to avoid lumps.
Step 3: Combine with cookie crumbs
Slowly add the cookie crumbs to the creamy mixture. Stir until everything is well combined and forms a soft dough that can be rolled easily.
Tip: If the mixture feels too soft, chill it for 10 minutes before rolling.
Assembly: Shaping and Coating the Truffles
Shaping the truffles
Scoop small portions of the mixture and roll them into smooth balls using your hands. Try to keep them the same size so they look neat and professional.
Presentation tip: Use a small cookie scoop for even sizes.
Chilling
Place the rolled balls on a lined baking sheet and chill them in the refrigerator for about 30 minutes. This helps them firm up before coating.
Coating with chocolate
Melt the chocolate gently using a microwave or double boiler. Dip each chilled truffle into the melted chocolate, making sure it is fully coated.
Place the coated truffles back on the lined sheet.
Final touch
Sprinkle crushed cookies on top or drizzle with extra chocolate before the coating sets.
Storage and Make-Ahead Tips
Refrigerator storage
- Store the truffles in an airtight container in the fridge for up to 7 days.
Freezer storage
- Freeze uncoated or coated truffles for up to 2 months.
- Thaw in the refrigerator before serving.
Make-ahead tip
These truffles are perfect for making ahead of time. You can prepare them a day or two before a party and store them chilled until ready to serve.
Recipe Variations
One of the best things about this recipe is how easy it is to customize.
Chocolate lovers
- Use dark chocolate coating and drizzle with milk chocolate.
Crunchy version
- Mix small cookie chunks into the dough for added texture.
Health-conscious twist
- Use reduced-fat cream cheese.
- Roll truffles smaller for portion control.
Holiday version
- Add festive sprinkles or colored chocolate drizzle.
Health Benefits and Quick Prep Advantages
While these are a dessert, they do offer a few benefits when enjoyed in moderation.
- No baking means fewer processed steps.
- Portion-controlled truffles help prevent overeating.
- Quick preparation reduces stress and saves time.
They are a great choice when you want something sweet without a long kitchen session.
Conclusion
These No-Bake Biscoff Truffles prove that you don’t need fancy tools or baking skills to make an impressive dessert. With their creamy center, rich cookie butter flavor, and smooth chocolate coating, they are perfect for sharing or enjoying as a special treat. Try different coatings, toppings, and sizes to make the recipe your own. Once you make them, they are sure to become a favorite in your kitchen.
FAQs
Can I make Biscoff Truffles without cream cheese?
Yes, you can replace cream cheese with thick coconut cream or mascarpone for a slightly different texture and flavor.
Are Biscoff Truffles healthy?
They are a treat, but making them at home allows better portion control and fewer additives compared to store-bought desserts.
Do these truffles need to stay refrigerated?
Yes, they should be stored in the refrigerator to keep their shape and freshness.
Can kids help make this recipe?
Absolutely. This is a safe and fun no-bake recipe that kids can help mix and roll.
How long do Biscoff Truffles last?
They stay fresh for up to one week in the refrigerator and up to two months in the freezer.


