

Have you ever bitten into a store-bought bun only to find it dry, bland, and lacking that magical spice aroma that reminds you of a cozy kitchen? Most people think that getting that perfect, glossy finish and pillow-soft texture requires a professional bakery oven and years of training. The truth is that the best Cross Buns you will ever eat are the ones that come warm out of your own oven. Once you see how simple it is to make them from scratch, you will never want to go back to the plastic-wrapped versions from the grocery store.
Why This Recipe Is Special
Print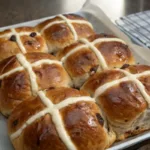
Stop Buying Store-Bought Hot Cross Buns: Try This Bakery-Style Recipe Instead
- Total Time: 3 hours
- Yield: 12 buns 1x
Description
Forget the dry, bland grocery store versions. These homemade Cross Buns are incredibly soft, perfectly spiced, and topped with a signature honey-apricot glaze. Once you smell these baking in your kitchen, you’ll never go back to store-bought again!
Ingredients
- The Dough:
- 4 cups all-purpose flour (plus extra for dusting)
- 2 1/4 teaspoons (1 packet) active dry yeast
- 1/4 cup granulated sugar
- 1 teaspoon fine sea salt
- 2 teaspoons ground cinnamon
- 1/2 teaspoon ground allspice
- 1/4 teaspoon ground nutmeg
- 1 cup warm milk (110°F)
- 1/4 cup unsalted butter, melted and cooled
- 1 large egg, room temperature
- 1/2 cup raisins or sultanas (substitute with chocolate chips for a twist)
- 1/4 cup mixed peels (optional)
- The Flour Cross:
- 1/2 cup all-purpose flour
- 5–6 tablespoons water
- The Sticky Glaze:
- 2 tablespoons apricot jam
- 1 teaspoon water
Instructions
- Activate the Yeast: Mix warm milk, 1 tablespoon sugar, and yeast. Let sit for 10 minutes until frothy.
- Mix Dry Ingredients: Whisk flour, remaining sugar, salt, and spices in a large bowl.
- Knead the Dough: Combine yeast mixture, butter, and egg with dry ingredients. Knead on a floured surface for 8-10 minutes until smooth and stretchy.
- Add Fruit & First Rise: Fold in raisins and peels. Place in a greased bowl, cover, and let rise in a warm spot for 1 hour (until doubled in size).
- Shape the Buns: Punch down dough and divide into 12 equal balls. Arrange in a 3×4 grid on a parchment-lined tray.
- Second Rise & Crossing: Cover and rise for 45 minutes. Mix flour and water into a paste and pipe crosses over the buns.
- Bake: Bake at 375°F for 18-22 minutes until golden brown.
- Glaze: Microwave apricot jam and water for 20 seconds. Brush over hot buns immediately for a professional shine.
Notes
Make-Ahead Tip: Do the first rise in the refrigerator overnight to develop deeper flavor. Always ensure your milk is warm like bath water; if it’s too hot, it will kill the yeast. For extra softness, keep the buns close together on the tray so they pull apart after baking.
- Prep Time: 30 minutes
- Cook Time: 20 minutes
- Category: Bread/Baking
- Method: Baking
- Cuisine: British-Inspired
Nutrition
- Serving Size: 1 bun
- Calories: 240
- Sugar: 9g
- Sodium: 210mg
- Fat: 5g
- Saturated Fat: 3g
- Carbohydrates: 42g
- Fiber: 2g
- Protein: 6g
This recipe is designed for the home baker who wants professional results without the stress. What makes these Cross Buns stand out is the double-proofing method and the secret apricot glaze. The double-proofing ensures the dough is incredibly light, while the glaze gives them that signature shine that catches the light.
- Difficulty Level: Intermediate (If you can kneed dough, you can do this!)
- Prep Time: 30 minutes
- Rising Time: 2 hours
- Bake Time: 20 minutes
- Total Time: Approximately 3 hours
Essential Ingredients
To make these delicious Cross Buns, you will need basic pantry staples and a few special spices. Here is exactly what you need to gather.
The Dough
- All-Purpose Flour: 4 cups (plus a little extra for dusting)
- Active Dry Yeast: 2 and 1/4 teaspoons (one standard packet)
- Granulated Sugar: 1/4 cup
- Fine Sea Salt: 1 teaspoon
- Ground Cinnamon: 2 teaspoons
- Ground Allspice: 1/2 teaspoon
- Ground Nutmeg: 1/4 teaspoon
- Warm Milk: 1 cup (aim for 110 degrees Fahrenheit)
- Unsalted Butter: 1/4 cup (melted and cooled slightly)
- Large Egg: 1 (room temperature)
- Raisins or Sultanas: 1/2 cup
- Mixed Peels (Optional): 1/4 cup
The Flour Cross
- All-Purpose Flour: 1/2 cup
- Water: 5 to 6 tablespoons (added slowly)
The Sticky Glaze
- Apricot Jam: 2 tablespoons
- Water: 1 teaspoon
Substitutions and Variations
If you do not have raisins, you can use chocolate chips for a modern twist. If you are dairy-free, you can use almond milk and vegan butter. For a gluten-free version, a high-quality 1-to-1 baking flour blend works well, though the texture will be slightly denser.
Step-by-Step Instructions
Baking bread is like a science experiment that you get to eat. Follow these steps carefully to ensure your Cross Buns rise perfectly.
Step 1: Activate the Yeast
Pour your warm milk into a small bowl. Stir in one tablespoon of the sugar and the yeast. Let it sit for about 10 minutes. You will know it is ready when it looks bubbly and frothy on top. If it does not bubble, your yeast might be old, and you should start over with a fresh packet.
Step 2: Mix the Dry Ingredients
In a large mixing bowl, whisk together the flour, the rest of the sugar, salt, cinnamon, allspice, and nutmeg. This ensures the spices are evenly spread so every bite of your Cross Buns is flavorful.
Step 3: Combine and Knead
Make a hole in the center of your flour mixture. Pour in the yeast mixture, the melted butter, and the beaten egg. Use a wooden spoon to stir until a shaggy dough forms.
Turn the dough out onto a floured surface. Knead the dough by pushing it away from you with the heels of your hands, then folding it back. Do this for about 8 to 10 minutes. The dough should become smooth and stretchy.
Step 4: Add the Fruit
Flatten the dough slightly and sprinkle the raisins and mixed peels over the top. Fold the dough over the fruit and knead for another minute until the fruit is evenly distributed.
Step 5: The First Rise
Lightly grease a clean bowl with oil. Place your dough inside and cover it with a clean kitchen towel. Put the bowl in a warm, draft-free spot. Let it rise for about 1 hour or until it has doubled in size.
Assembly and Shaping
Now it is time to turn that big ball of dough into individual buns.
- Punch it down: Gently press your fist into the center of the risen dough to let the air out.
- Divide: Divide the dough into 12 equal pieces. You can use a kitchen scale to make sure they are all the same size.
- Shape: Roll each piece into a smooth ball. Place them on a baking sheet lined with parchment paper. Arrange them in a grid (3 rows of 4) so they are about half an inch apart.
- Second Rise: Cover the buns again and let them rise for another 45 minutes. They should grow until they are touching each other.
- The Crosses: Mix the flour and water for the crosses in a small bowl until it forms a thick paste. Put the paste into a piping bag or a plastic bag with the corner snipped off. Carefully pipe a line down each row of buns, then pipe lines across to create the cross shapes.
Baking and Presentation
Preheat your oven to 375 degrees Fahrenheit. Bake the buns for 18 to 22 minutes. They should be a deep golden brown on top.
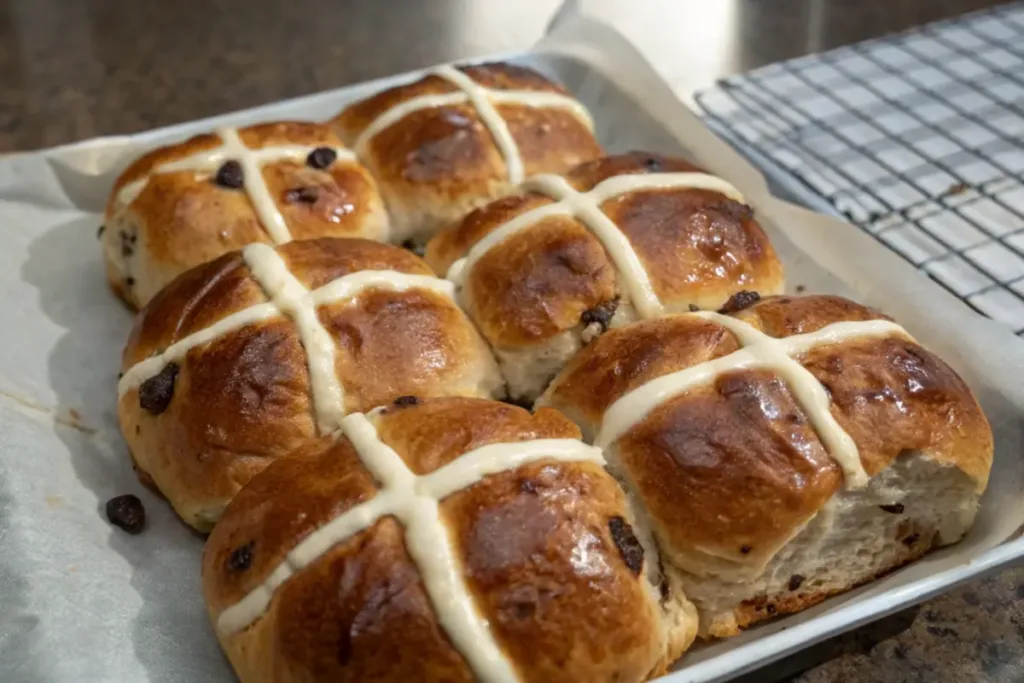
While they bake, heat the apricot jam and water in the microwave for 20 seconds and stir. As soon as the buns come out of the oven, brush the warm jam over the top. This gives them a beautiful shine and a hint of sweetness. For the best presentation, serve them warm on a wooden board with a side of salted butter.
Storage and Make-Ahead Tips
Cross Buns are best on the day they are made, but they can still be delicious later.
- Countertop: Store in an airtight container for up to 2 days.
- Freezer: You can freeze the baked buns for up to 2 months. Wrap them tightly in plastic wrap and then foil.
- Reheating: To get that “just baked” feel, pop a bun in the microwave for 10 to 15 seconds or toast it lightly in a toaster oven.
- Make-Ahead: You can do the first rise in the refrigerator overnight. This actually develops more flavor! Just let the dough come to room temperature the next morning before shaping.
Recipe Variations
Once you master the classic version, try these fun ideas:
- Apple Cinnamon: Replace raisins with finely chopped dried apples.
- Chocolate Orange: Use chocolate chips instead of raisins and add the zest of one orange to the dough.
- Savory Twist: Omit the sugar and fruit. Add shredded cheddar cheese and dried rosemary. Skip the apricot glaze and brush with melted garlic butter instead.
Conclusion
Making your own Cross Buns is a rewarding experience that fills your home with the most incredible scent. It is a slow, rhythmic process that reminds us that the best things in life take a little bit of time and patience. Whether you are making these for a holiday or just a rainy Sunday afternoon, the effort is well worth the result. Don’t be afraid to experiment with different fruits or spices to make the recipe your own. Grab your flour and yeast, and start baking today!
FAQs
Are Hot Cross Buns healthy? While these are a treat, they are much healthier than store-bought versions because they have no artificial preservatives or high-fructose corn syrup. The raisins and spices also provide small amounts of fiber and antioxidants.
What if my dough doesn’t rise? This usually happens if the milk was too hot (which kills the yeast) or too cold (which keeps it asleep). Make sure your milk feels like warm bath water.
Can I make these without a piping bag? Yes! You can use a small spoon to drizzle the flour paste, or simply use a zip-top bag with a tiny hole cut in the corner.
Why are they called Cross Buns? The flour cross on top traditionally represents the holiday of Easter, but they have become a favorite snack enjoyed all year round because of their great taste.
How do I make them extra shiny? The key is to brush the glaze on while the buns are still hot from the oven. The heat helps the glaze soak in slightly while leaving a glossy coat on the surface.


