

Have you ever wondered if it’s really possible to make bakery-style soft and puffy pita bread right in your own kitchen—without a mixer?
Most people assume homemade bread takes too much effort or fancy tools. But this soft, pillowy pita bread will prove that wrong. You don’t need a bread machine or stand mixer, and you definitely don’t need to be a professional baker. All it takes is a few basic ingredients, a bit of patience, and your own two hands.
If you’ve never tasted freshly made pita, get ready to be amazed.
What Makes This Homemade Pita Bread Recipe Special?
Print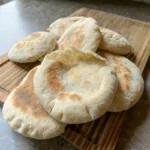
Soft Puffy Homemade Pita Bread (No Mixer Needed)
- Total Time: 1 hour 25 minutes
- Yield: 6–8 pitas 1x
Description
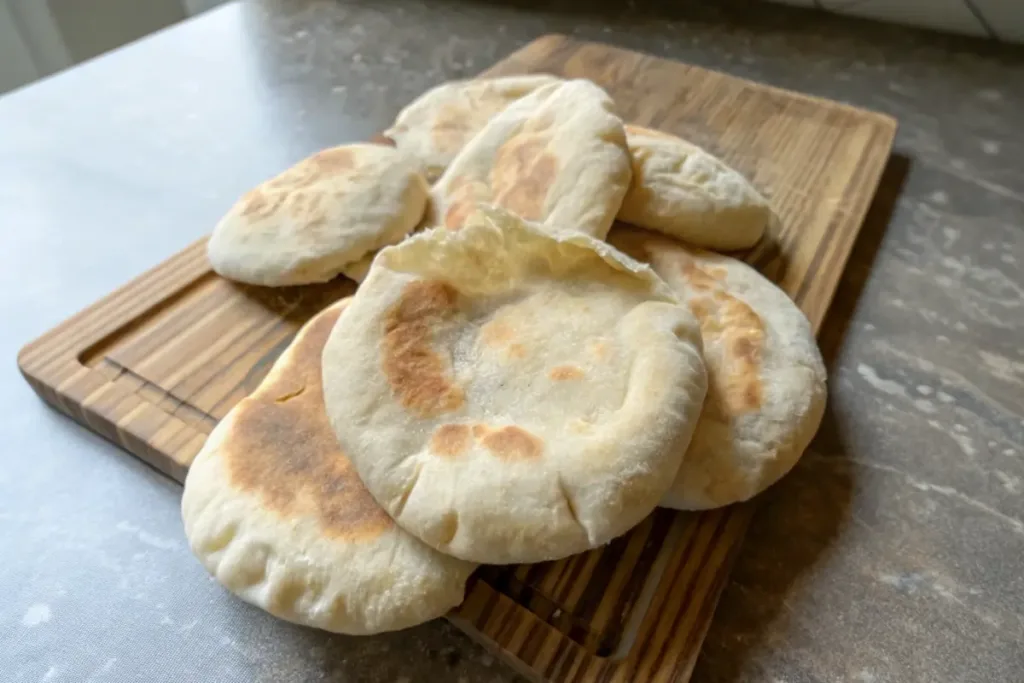
This Soft Puffy Homemade Pita Bread is tender, warm, and full of flavor—and you don’t even need a mixer to make it. Perfect for stuffing, dipping, or wrapping, these pitas are made with pantry staples and cook up in just minutes. Once you taste one fresh off the skillet, you’ll never buy store-bought again!
Ingredients
- 2 ¼ teaspoons active dry yeast (or 1 packet)
- 1 teaspoon sugar
- ¾ cup warm water (about 110°F)
- 2 cups all-purpose flour (plus more for kneading)
- 1 teaspoon salt
- 1 tablespoon olive oil
Instructions
- Activate the Yeast: In a bowl, combine warm water, sugar, and yeast. Let sit for 5–10 minutes until frothy.
- Make the Dough: Add flour, salt, and olive oil to the yeast mixture. Stir with a wooden spoon until a sticky dough forms.
- Knead: Turn dough onto a floured surface and knead by hand for 8–10 minutes until smooth and elastic.
- Let It Rise: Place dough in a greased bowl, cover, and let rise for 1 hour until doubled in size.
- Divide and Rest: Punch down dough and divide into 6–8 balls. Cover and let rest for 10 minutes.
- Roll and Cook: Roll each ball into a ¼-inch thick circle. Heat a skillet over medium-high and cook each pita for 1–2 minutes per side until puffed and golden.
- Serve: Stack cooked pitas in a clean kitchen towel to keep them soft. Enjoy warm.
Notes
Make sure the skillet is very hot before cooking to help pitas puff up. Don’t press down on them while cooking. Store extras in an airtight bag or freeze for later use.
- Prep Time: 1 hour 15 minutes
- Cook Time: 10 minutes
- Category: Bread
- Method: Stovetop
- Cuisine: Middle Eastern
Nutrition
- Serving Size: 1 pita
- Calories: 160
- Sugar: 1g
- Sodium: 220mg
- Fat: 3g
- Saturated Fat: 0g
- Unsaturated Fat: 2.5g
- Trans Fat: 0g
- Carbohydrates: 28g
- Fiber: 1g
- Protein: 4g
- Cholesterol: 0mg
This recipe stands out for three big reasons:
- No mixer needed: All the kneading is done by hand—easy and calming.
- Soft and puffy results: You get beautifully puffed pockets, perfect for stuffing or dipping.
- Minimal ingredients: Just pantry staples like flour, yeast, water, salt, and sugar.
Time requirement:
- Prep time: 1 hour 45 minutes (includes rising)
- Cook time: 5–6 minutes per batch
- Total time: About 2 hours
Difficulty level:
Beginner-friendly! Even kids can help shape and cook these pitas.
Essential Ingredients for Homemade Pita Bread
Here’s what you’ll need to make this simple recipe:
- 2 ¼ teaspoons active dry yeast (or 1 packet)
- 1 teaspoon sugar (to feed the yeast)
- ¾ cup warm water (about 110°F, warm but not hot)
- 2 cups all-purpose flour (plus extra for kneading)
- 1 teaspoon salt
- 1 tablespoon olive oil
Ingredient Substitutions and Variations:
- Whole wheat option: Replace 1 cup of white flour with whole wheat flour.
- Gluten-free version: Use a 1:1 gluten-free flour blend, though the texture will be different.
- Add-ins: Try mixing in a pinch of garlic powder, za’atar, or fresh herbs for flavor.
Step-by-Step Instructions
1. Activate the Yeast
In a mixing bowl, stir the yeast and sugar into the warm water. Let it sit for 5–10 minutes until it’s frothy. This means the yeast is alive and ready to go.
Tip: If the mixture doesn’t foam, your yeast might be expired or your water too hot. Start over with fresh yeast.
2. Mix the Dough
Add the flour, salt, and olive oil to the yeast mixture. Stir with a wooden spoon until a sticky dough forms.
Tip: If it feels too dry, add 1 tablespoon of water. If too wet, sprinkle in a bit more flour.
3. Knead by Hand
Turn the dough onto a floured surface. Knead it for about 8–10 minutes. It should be soft, smooth, and slightly tacky.
Tip: Don’t over-flour your surface; a slightly sticky dough creates softer pitas.
4. First Rise
Place the dough in a lightly oiled bowl. Cover it with a towel or plastic wrap and let it rise for 1 hour, or until it doubles in size.
Tip: Set the bowl in a warm place like inside a turned-off oven or near a sunny window.
5. Shape the Pitas
Punch down the dough. Divide it into 6–8 equal pieces. Roll each into a smooth ball. Cover and let them rest for 10 minutes (this helps the dough relax for easier rolling).
Using a rolling pin, flatten each ball into a circle about ¼ inch thick. Keep them covered with a towel so they don’t dry out.
Cooking the Pita Bread
You can cook these on a hot skillet or bake in the oven. Here’s how:
Skillet Method (Preferred for Puffiness):
- Preheat a cast-iron or nonstick skillet over medium-high heat. No oil needed.
- Place a rolled-out dough round into the hot skillet.
- Cook for 30 seconds to 1 minute—bubbles will start forming.
- Flip and cook for another 1–2 minutes, then flip again.
- The pita should puff up—this creates that iconic pocket!
Tip: Don’t press the dough down while it cooks. Let it puff naturally.
Oven Method:
- Preheat your oven to 500°F (260°C) and place a baking sheet or pizza stone inside.
- Carefully lay a dough round onto the hot surface.
- Bake for 2–3 minutes until puffed and slightly golden.
Assembling and Serving Your Homemade Pitas
Once the pitas are cooked, stack them in a clean kitchen towel to keep them soft.
Here’s how to serve them:
- Cut in half and stuff with grilled chicken, hummus, or salad.
- Tear into pieces and dip into baba ghanoush or tzatziki.
- Use as a base for mini pizzas.
Presentation Tip: Brush warm pitas with melted butter or olive oil and sprinkle with herbs or sea salt for extra flavor and a polished look.
Storage and Make-Ahead Tips
- Room temp: Store cooled pitas in a zip-top bag for up to 3 days.
- Freezer: Place parchment between pitas, then freeze in a bag for up to 2 months.
- To reheat: Wrap in a damp paper towel and microwave for 20–30 seconds, or warm in a dry skillet.
Recipe Variations
Try these fun twists on your homemade pita bread:
- Cheesy Pita: Sprinkle shredded cheese on top before cooking.
- Garlic Herb Pita: Mix minced garlic and herbs into the dough.
- Stuffed Pitas: Add a thin layer of mashed potatoes or cheese inside before rolling out (more like naan, but delicious).
Conclusion
Now you know how to make soft, puffy homemade pita bread—no mixer, no stress. It’s easier than it looks and so much tastier than store-bought. Whether you stuff it, dip it, or eat it warm out of the pan, homemade pita will quickly become a favorite in your kitchen.
Try it once, and you’ll never go back to packaged pitas again. Get your hands into that dough and enjoy the magic of fresh bread!
FAQs About Homemade Pita Bread
Q: Why didn’t my pita puff up?
A: It could be because the skillet or oven wasn’t hot enough. Also, make sure the dough circles are evenly rolled—not too thick or too thin.
Q: Is homemade pita bread healthy?
A: Yes! It’s made with simple, whole ingredients and no preservatives. You can make it even healthier by using whole wheat flour.
Q: Can I make the dough ahead of time?
A: Absolutely. After kneading, cover and refrigerate the dough for up to 24 hours. Bring to room temperature before shaping and cooking.
Q: Can I use instant yeast instead of active dry yeast?
A: Yes! Just skip the proofing step and mix it directly with the dry ingredients.
Q: Can I use this dough for other recipes?
A: Yes! It works great for flatbreads, pizza bases, and even mini calzones.


