

Have You Ever Dreamed of Baking Bakery-Style Bread Without Ever Touching the Dough?
Many people think that baking bread is a hard job. They imagine a kitchen covered in flour and hours spent rubbing and pushing dough until their arms ache. But what if I told you that you could make a loaf of bread that is crunchy on the outside and soft on the inside without any of that hard work? This Crusty No-Knead Bread is a game-changer. It is the secret to getting a professional-looking loaf of bread right in your own kitchen with almost zero effort. If you can stir a spoon, you can make this bread.
Why This Recipe Is a Kitchen Miracle
Print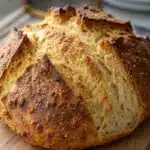
Easy Crusty No-Knead Bread Recipe for Beginners
- Total Time: 13-19 hours
- Yield: 1 loaf 1x
- Diet: Vegan
Description
This Crusty No-Knead Bread is a kitchen miracle that uses time instead of muscle to create a professional-looking loaf. With a crunchy exterior and soft, airy interior, it’s the perfect fail-proof recipe for beginners who want bakery-quality results with almost zero effort.
Ingredients
- 3 Cups All-Purpose Flour or Bread Flour (390g)
- 1.5 Cups Warm Water (355ml)
- 0.25 Teaspoon Active Dry Yeast
- 1.25 Teaspoons Salt
Instructions
- Mixing the Dough: In a large bowl, whisk flour, yeast, and salt. Add warm water and stir until a messy, shaggy dough forms.
- The Long Rest: Cover and let sit at room temperature for 12 to 18 hours until bubbly and doubled in size.
- Shaping: Tip dough onto a floured surface. Fold edges toward the center to form a ball. Rest for 30 minutes.
- Heating the Pot: Preheat oven to 450°F with a heavy pot inside for 30 minutes.
- Baking: Drop dough into the hot pot. Bake covered for 30 minutes, then uncovered for 15 minutes.
Notes
Let the bread cool for at least 1 hour before cutting. Use parchment paper for an easier transfer to the hot pot.
- Prep Time: 5 minutes
- Cook Time: 45 minutes
- Category: Bread
- Method: No-Knead
- Cuisine: American
Nutrition
- Serving Size: 1 slice
- Calories: 180
- Carbohydrates: 36g
- Protein: 5g
This recipe is special because it uses time instead of muscle. Usually, you have to knead bread to develop something called gluten. Gluten is what makes bread chewy. In this recipe, we let the dough sit for a long time. While you sleep or go to work, the water and flour do all the work for you.
- Difficulty Level: Super Easy. If you are a beginner, this is the perfect first loaf.
- Active Prep Time: 5 minutes.
- Waiting Time: 12 to 18 hours (this is where the magic happens).
- Baking Time: 45 minutes.
You do not need a fancy mixer. You do not need a bread machine. All you need is a bowl, a spoon, and a heavy pot with a lid.
Essential Ingredients
You only need four simple items to make this Crusty No-Knead Bread. Most of these are likely in your pantry right now.
- 3 Cups of All-Purpose Flour or Bread Flour: (About 390 grams). Bread flour makes it a little chewier, but all-purpose works great too.
- 1.5 Cups of Warm Water: (About 355 ml). It should feel like warm bath water, not hot enough to burn.
- 0.25 Teaspoon of Active Dry Yeast: Yes, just a tiny bit! Because the dough sits for a long time, you do not need much yeast.
- 1.25 Teaspoons of Salt: This gives the bread its flavor. Without salt, bread tastes very flat.
Easy Substitutions
- Whole Wheat Version: You can swap 1 cup of white flour for 1 cup of whole wheat flour. You might need to add one extra tablespoon of water.
- Honey Touch: Add a teaspoon of honey to the water if you like a very tiny hint of sweetness.
- Herb Bread: Mix in a teaspoon of dried rosemary or garlic powder for extra flavor.
Step-by-Step Instructions
Follow these steps carefully. The most important thing to remember is to be patient.
1. Mixing the Dough
In a large glass or plastic bowl, whisk together your flour, yeast, and salt. Pour the warm water into the bowl. Use a big spoon or a spatula to stir it. You do not need to get it smooth. It will look messy, sticky, and shaggy. This is exactly how it should look. Make sure there are no dry spots of flour left at the bottom.
2. The Long Rest
Cover the bowl tightly with plastic wrap or a clean kitchen towel. Set the bowl on your counter at room temperature. Now, you wait. You need to let it sit for at least 12 hours. Many people mix it at night before bed and bake it the next morning. During this time, the dough will grow bubbles and double in size.
3. Shaping the Dough
After the long wait, the dough will be very bubbly and sticky. Sprinkle some flour on a clean surface. Gently tip the dough out of the bowl. Do not pull it too hard. Fold the edges of the dough toward the center a few times to make a ball shape. It will still be soft. Let it rest for 30 minutes while you get the oven ready.
4. Heating the Pot
This is the most important tip: Put an empty heavy pot (like a Dutch oven) with its lid into the oven. Turn the oven on to 450 degrees Fahrenheit. Let the pot get very hot for at least 30 minutes. This hot pot is what creates the steam that makes the crust so crunchy.
Assembly and Baking
Once the oven and the pot are very hot, it is time to bake. Use oven mitts because the pot will be extremely hot.
- Carefully take the hot pot out of the oven.
- Pick up your dough ball. You can use parchment paper to help lift it.
- Drop the dough into the center of the hot pot.
- Put the lid back on. This traps the steam inside.
- Bake with the lid on for 30 minutes.
- Take the lid off and bake for another 15 minutes. This is when the crust turns golden brown and beautiful.
Presentation Tips
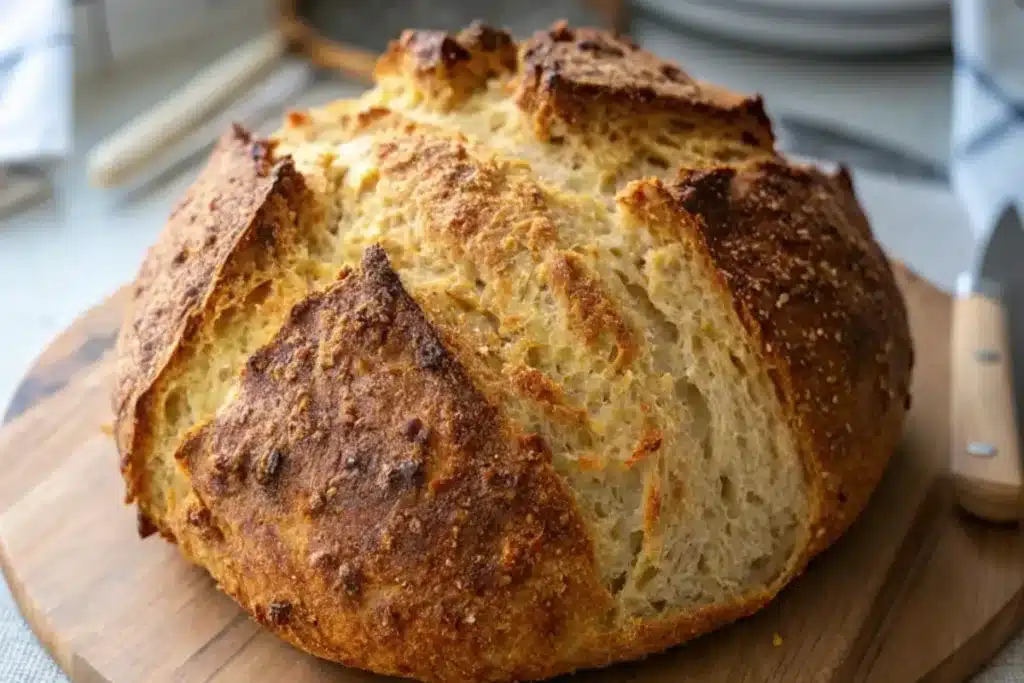
When the bread comes out, it will look like it came from a fancy bakery. Let it cool on a wire rack for at least 1 hour before cutting it. If you cut it too soon, the inside might feel gummy. For a beautiful look, you can dust a little extra flour on top of the dough right before it goes into the oven.
Storage and Make-Ahead Tips
Bread is always best on the first day, but you can keep it fresh.
- Room Temperature: Keep the bread in a paper bag or a bread box for up to 2 days. Do not put it in a plastic bag while it is warm, or the crust will get soft.
- Freezing: This bread freezes very well. Slice it first, put it in a freezer bag, and freeze for up to 3 months.
- Reheating: To get that crunch back, put a slice in the toaster. If you want to warm the whole loaf, put it in a 350-degree oven for 5 to 10 minutes.
Fun Recipe Variations
Once you master the basic Crusty No-Knead Bread, you can try these fun ideas:
- Cheese and Jalapeno: Mix in half a cup of shredded cheddar cheese and some chopped peppers when you first mix the dough.
- Cranberry Walnut: Add half a cup of dried cranberries and half a cup of crushed walnuts for a breakfast bread.
- Everything Bagel: Sprinkle “everything bagel seasoning” on top of the loaf right before you put the lid on the pot.
- Roasted Garlic: Fold in some soft, roasted garlic cloves during the shaping step.
Health Benefits and Preparation
Making your own bread is much healthier than buying it at the store. Store-bought bread often has preservatives, sugar, and strange chemicals to keep it soft for weeks. Your homemade bread only has four natural ingredients. It is lower in sugar and much easier for your body to digest because of the long fermentation time.
Even though it takes many hours to sit, your actual work time is less than 10 minutes. It is a great way to have fresh, healthy food with a busy schedule.
Conclusion
Baking bread does not have to be a scary or difficult task. With this Crusty No-Knead Bread recipe, you are using science and time to create something delicious. It is cheap to make, fun to look at, and tastes better than anything in a plastic bag. Don’t be afraid to experiment with different flavors or flours. Every loaf you bake is a chance to learn something new. Grab a bowl and start your dough tonight!
Frequently Asked Questions
Can I make this without a Dutch oven?
Yes. You can use any heavy pot that is safe for the oven, like a cast iron skillet or a ceramic pot. Just make sure it has a lid. If you don’t have a lid, you can use a baking sheet to cover the top of the pot.
What if my dough doesn’t rise?
This usually means your yeast was old or the water was too hot. Make sure your yeast is fresh and your water is just warm, not boiling.
Why is my crust not crunchy?
The crunch comes from the steam inside the pot. Make sure your lid fits tightly. Also, make sure you take the lid off for the last 15 minutes of baking to let the outside get brown.
Is this bread vegan?
Yes! This recipe uses no eggs, milk, or butter. It is naturally vegan and dairy-free.
Can I use a different type of flour?
You can use bread flour for a heartier texture. You can also use gluten-free all-purpose flour blends, but the texture will be different and it might not rise as much.
How do I know when the bread is done?
The crust should be a dark golden brown. If you tap the bottom of the loaf, it should sound hollow, like a little drum.


